Guides
- Introduction
- Getting Started
- Acceptance Tests
- Functional Tests
- Unit Tests
- Debugging
- Modules And Helpers
- Reusing Test Code
- Advanced Usage
- BDD
- Customization
- Data
- API Testing
- Codecoverage
- Reporting
- Continuous Integration
- Parallel Execution
Testomatio - Test Management for Codeception
Search
Continuous Integration
Once you get testing suite up and running you are interested in running your tests regularly. If you ensure that tests are running on every code change or at least once a day you can be sure that no regression is introduced. This allows to keep you system stable. But developers are not so passionate about running all tests manually, they also can forget to execute tests before pushing code to production… The solution is simple, test execution should be automated. Instead of running them locally it is better to have dedicated server responsible for running tests for a team. This way we can ensure that everyone’s tests executed, which commit made a regression in codebase, and that we can deploy only once tests pass.
There are many Continuous Integration Servers out there. We will try to list basic steps to setup Codeception tests with them. If your CI system is not mentioned, you can get the idea by analogy. Please also help us to extend this guide by adding instructions for different CIs.
Jenkins

Jenkins is one of the most popular open-source solution on market. It is easy to setup and is easy to customize by applying various plugins.
Preparing Jenkins
It is recommended to have the next plugins installed:
- Git Plugin - for building tests for Git repo
- Green Balls - to display success results in green.
- xUnit Plugin, jUnit Plugin - to process and display Codeception XML reports
- HTML Publisher Plugin - to process Codeception HTML reports
- AnsiColor - to show colorized console output.

Basic Setup
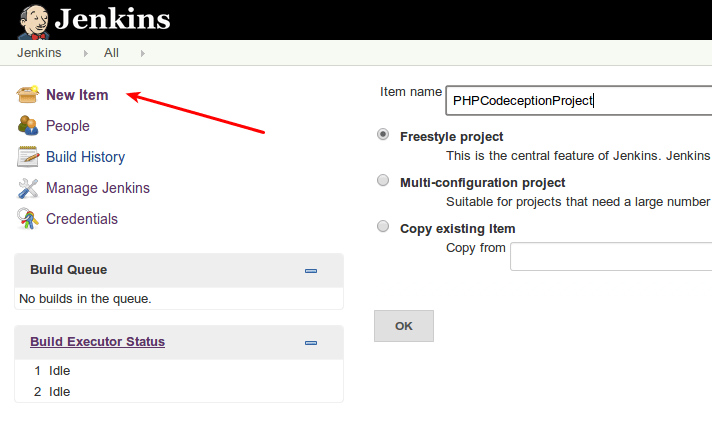
At first we need to create build project. Depending on your needs you can set up periodical build or trigger build once the change is pushed to GitHub (you will need GitHub plugin for that).
We need to define build steps. The most simple setup may look like this:
vendor/bin/codecept run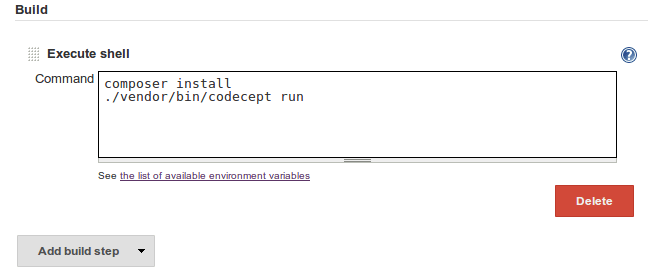
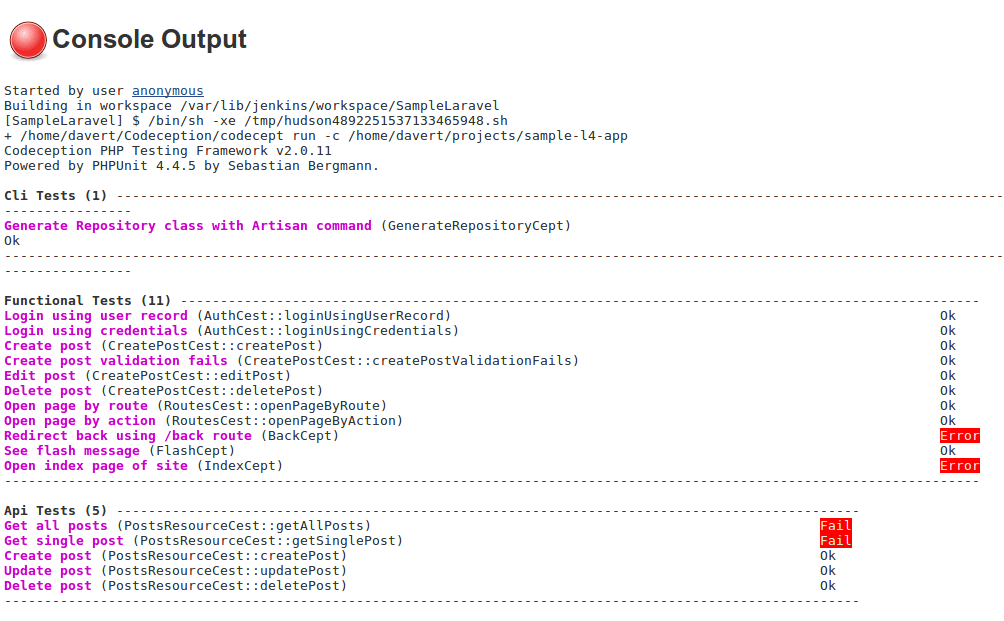
Then we can start the very first job and check the execution progress. If tests fail we will see that in console:
XML Reports
But we don’t want to analyze console output for each failing build. Especially If Jenkins can collect and display the results inside its web UI. Codeception can export its results using JUnit XML format. To generate XML report on each build we will need to append --xml option to Codeception execution command. Codeception will print result.xml file containing information about test status with steps and stack traces for failing tests.
Now let’s update our build step to generate xml:
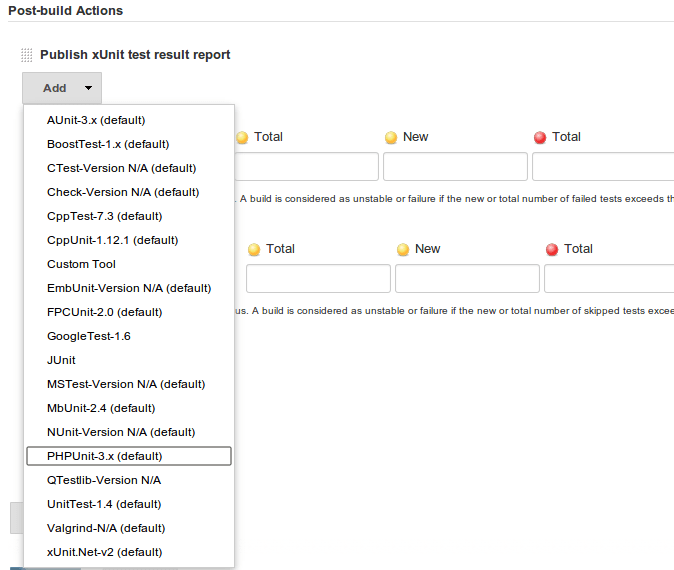
vendor/bin/codecept run --xmland ask Jenkins to collect resulted XML. This can be done as part of Post-build actions. Let’s add Publish xUnit test result report action and configure it to use with PHPUnit reports.
Now we should specify path to PHPUnit style XML reports. In case of standard Codeception setup we should specify tests/_output/*.xml as a pattern for matching resulted XMLs. Now we save the project and rebuild it.

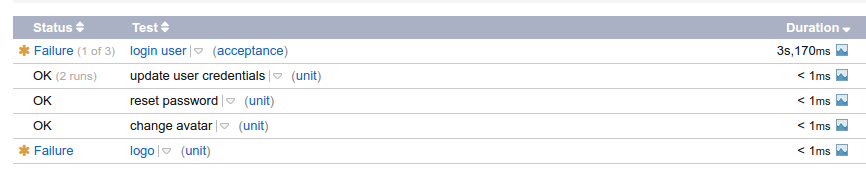
Now for all builds we will see results trend graph that shows us percentage of passing and failing tests. We also will see a Latest Test Result link which will lead to to the page where all executed tests and their stats listed in a table.
HTML Reports
To get more details on steps executed you can generate HTML report and use Jenkins to display them.
vendor/bin/codecept run --htmlNow we need HTML Publisher plugin configured to display generated HTML files. It should be added as post-build action similar way we did it for XML reports.
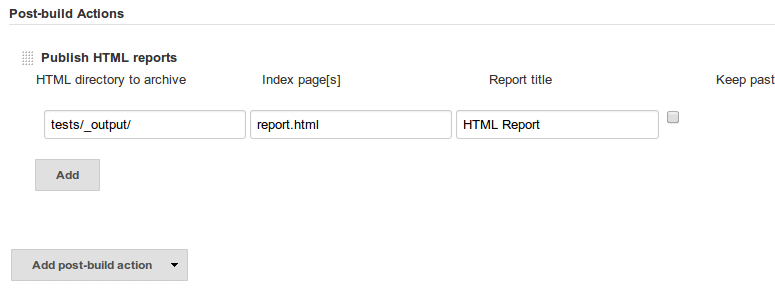
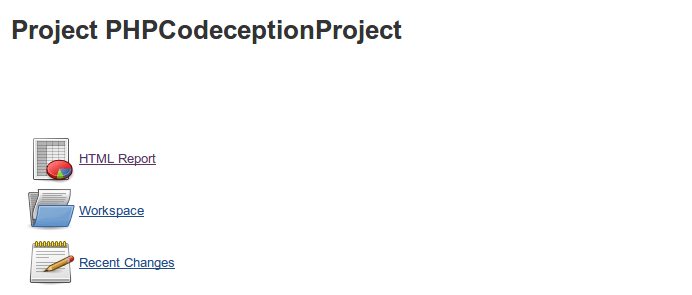
Jenkins should locate report.html at tests/_output/. Now Jenkins will display HTML reports for each build.
TeamCity
![]()
TeamCity is a hosted solution from JetBrains. The setup of it can be a bit tricky as TeamCity uses its own reporter format for parsing test results. PHPUnit since version 5.x has integrated support for this format, so does Codeception. What we need to do is to configure Codeception to use custom reporter. By default there is --report option which provides an alternative output. You can change the reporter class in codeception.yml configuration:
reporters:
  report: PHPUnit_Util_Log_TeamCity
As an alternative you can use 3rd-party TeamCity extension for better reporting.
After you create build project you should define build step with Codeception which is
vendor/bin/codecept run --report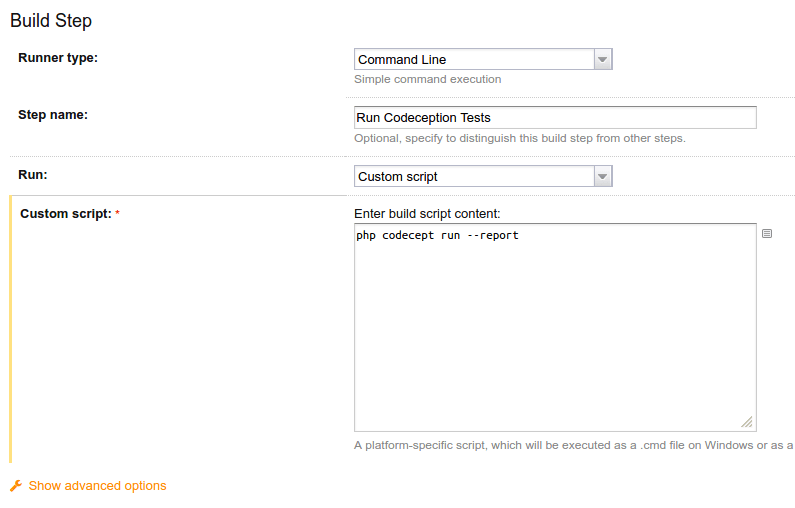
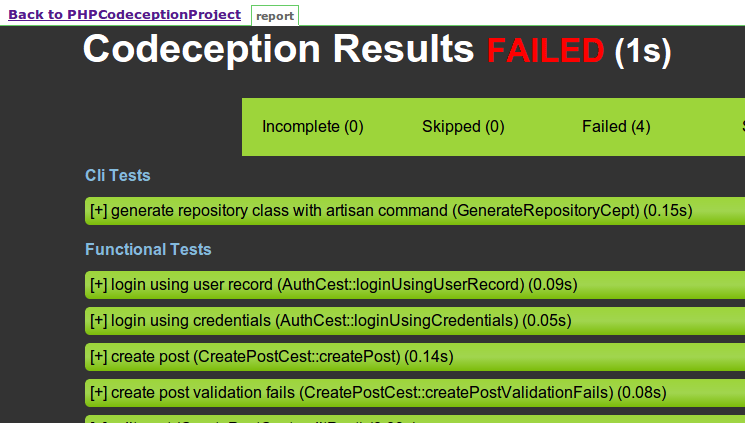
Once you execute your first build you should see detailed report inside TeamCity interface:
TravisCI

Travis CI is popular service CI with good GitHub integration. Codeception is self-tested with Travis CI. There nothing special about configuration. Just add to the bottom line of travis configuration:
php vendor/bin/codecept runMore details on configuration can be learned from Codeception’s .travis.yml.
Travis doesn’t provide visualization for XML or HTML reports so you can’t view reports in format any different than console output. However, Codeception produces nice console output with detailed error reports.
GitLab
![]()
If a file .gitlab-ci.yml exists in the root of the git repository, GitLab will run a pipeline each time you push to the gitlab server. The file configures the docker image that will be called. Below is a sample which loads a php7 docker image, clones your files, installs composer dependencies, runs the built-in php webserver and finally runs codeception:
# Select image from https://hub.docker.com/_/php/
image: php:7.0

# Select what we should cache
cache:
  paths:
  - vendor/

before_script:
# Install git and unzip (composer will need them)
- apt-get update && apt-get install -qqy git unzip
# Install composer
- curl -sS https://getcomposer.org/installer | php -- --install-dir=/usr/local/bin --filename=composer
# Install all project dependencies
- composer install
# Run webserver
- php -S localhost:8085 --docroot public &>/dev/null&

# Test
test:
  script:
  - vendor/bin/codecept run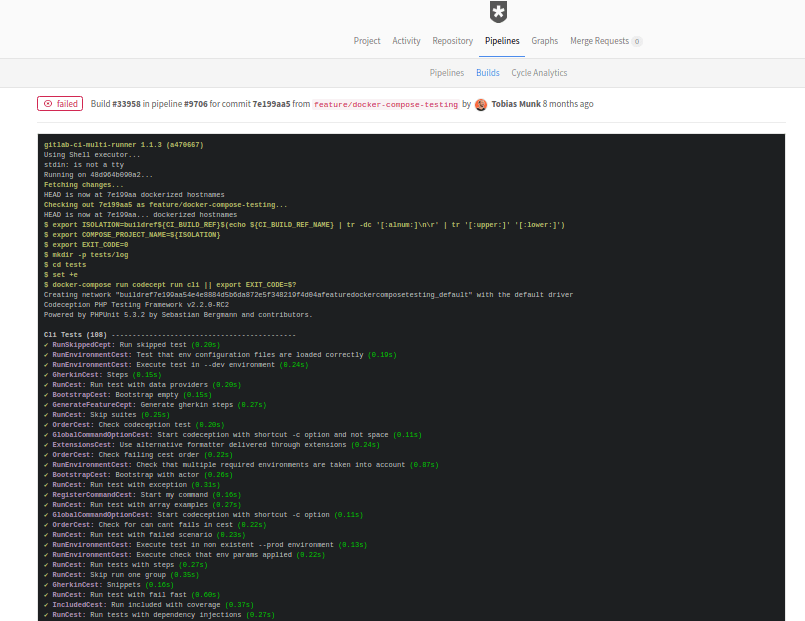
For acceptance testing you can use codeception/codeception docker image as base. See example below:
image:
  name: codeception/codeception
  # clear image entrypoint to make bash being available
  entrypoint: [""]

# run selenium chrome as a local service (put "host: 'selenium__standalone-chrome'" in environment configuration)
services:
  - selenium/standalone-chrome:latest

# Select what we should cache
cache:
  paths:
  - vendor/

before_script:
# Install all project dependencies
- composer install

# Test
test:
  script:
    - vendor/bin/codecept run acceptance --xml --html
  artifacts:
    when: always
    expire_in: 1 week
    paths:
      - tests/_output
    # make the report available in Gitlab UI. see https://docs.gitlab.com/ee/ci/unit_test_reports.html
    reports:
      junit: tests/_output/report.xml
Conclusion
It is highly recommended to use Continuous Integration system in development. Codeception is easy to install and run in any CI systems. However, each of them has their differences you should take into account. You can use different reporters to provide output in format expected by CI system.
- Next Chapter: ParallelExecution >
- Previous Chapter: < Codecoverage