Quickstart
1.Install
Alternative Installations »composer require "codeception/codeception" --dev
2. Bootstrap
Execute:
php vendor/bin/codecept bootstrap
This creates the global configuration file codeception.yml, the tests/ directory, and the default test suites.
3. Create Test
Generate your first acceptance test. Acceptance tests emulate the behavior
of a real user visiting your site.
Acceptance Testing Guide »
php vendor/bin/codecept generate:cest Acceptance First
4. Write a Basic Test
It's now time to write your first test. Edit the file we've just created tests/Acceptance/FirstCest.php
<?php

class FirstCest
{
    public function frontpageWorks(AcceptanceTester $I)
    {
        $I->amOnPage('/');
        $I->see('Home');
    }
}
It will check if your frontpage contains the word Home.
5. Configure Acceptance Tests
Please make sure your local development server is running. Put application URL into: tests/Acceptance.suite.yml
actor: AcceptanceTester
modules:
    enabled:
        - PhpBrowser:
            url: {YOUR APP'S URL}
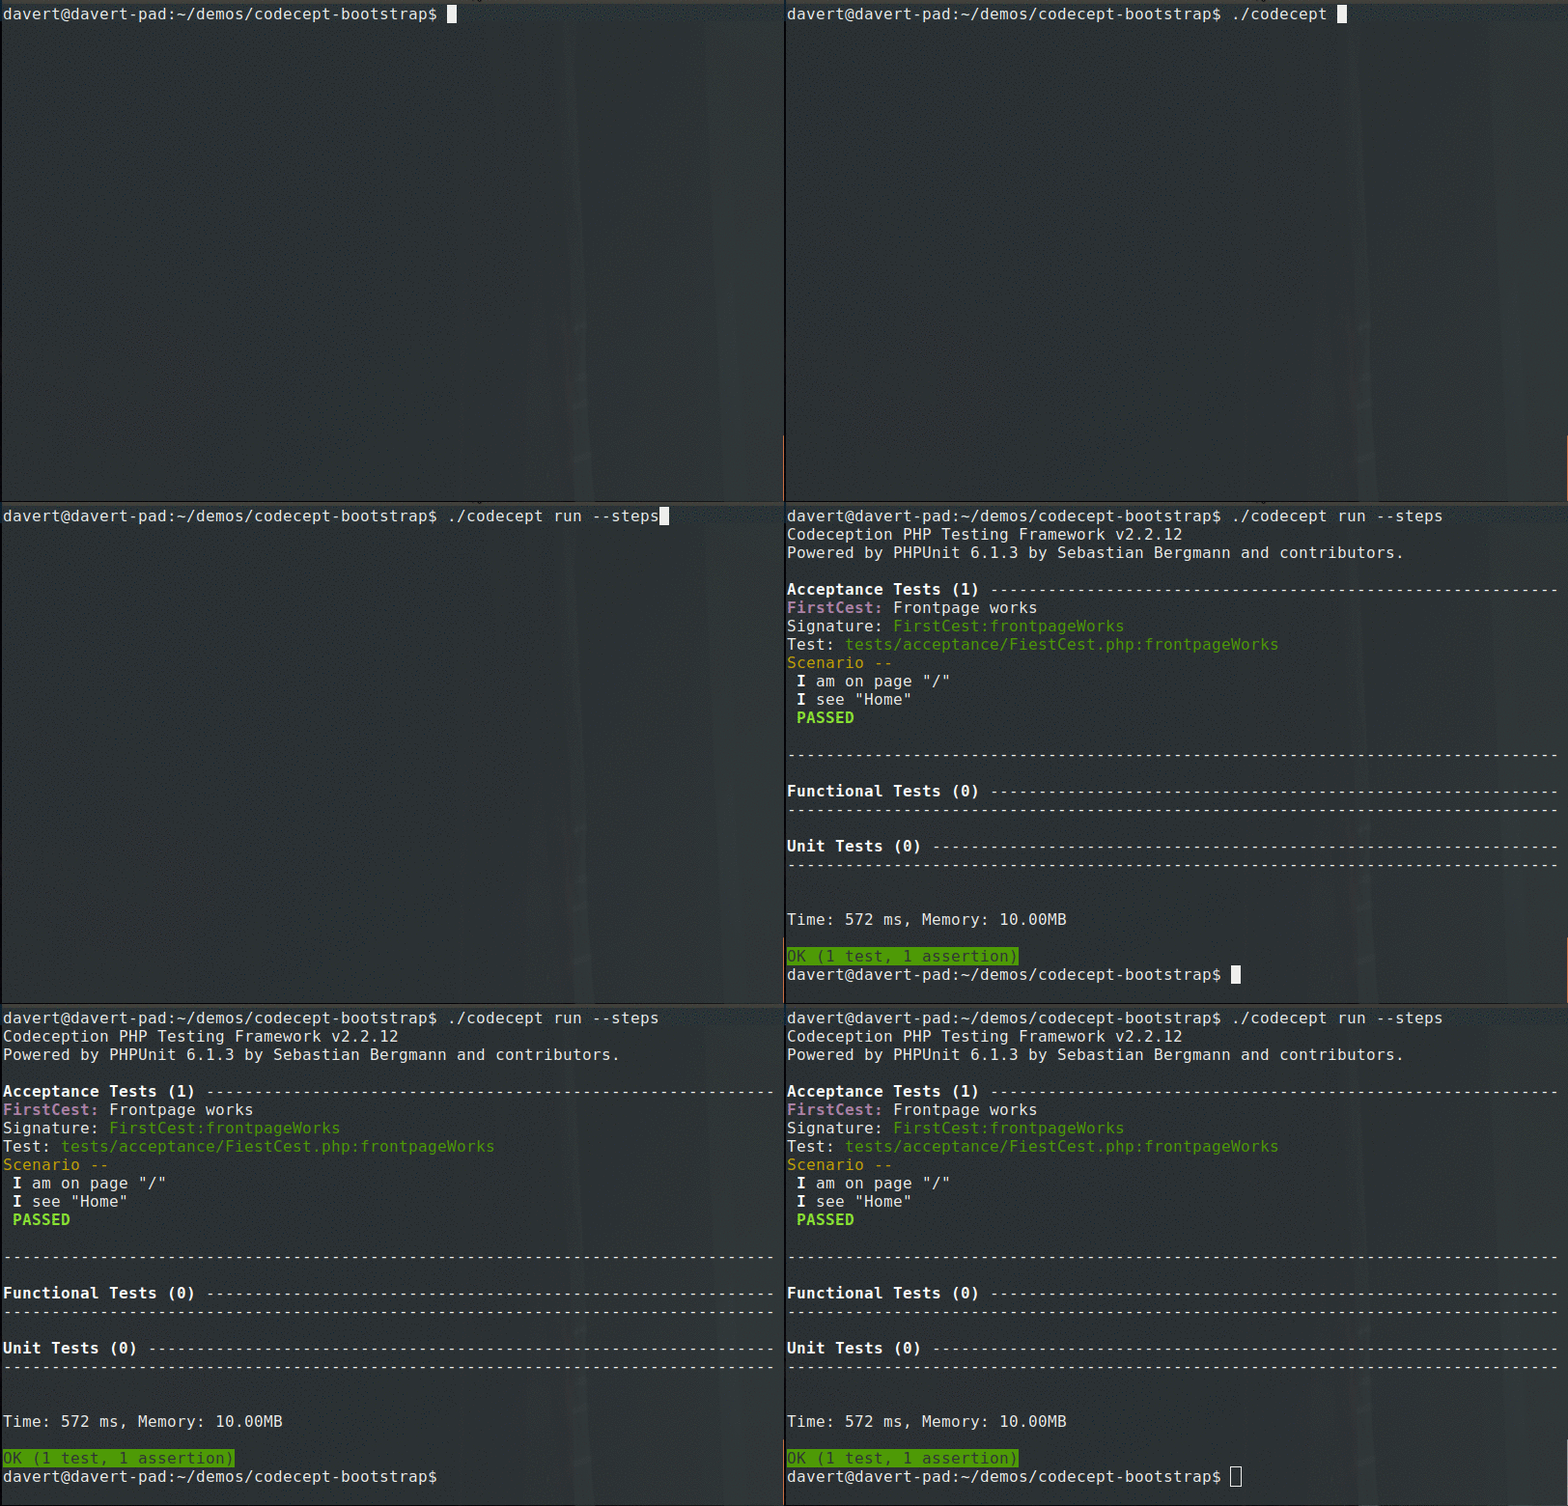
6. Run!
Tests are executed with 'run' command
php vendor/bin/codecept run --steps
This will execute our test with PhpBrowser. It's PHP script that can check HTML page contents, click links, fill forms, and submit POST and GET requests. For tests that require a real browser (e.g. JavaScript) use the WebDriver module.
Setup for a Single Test Suite
Instead of the bootstrap command, you can set up just a single test suite.
Acceptance Testing (only)
php vendor/bin/codecept init Acceptance
REST API Testing (only)
php vendor/bin/codecept init Api
Unit Testing (only)
php vendor/bin/codecept init Unit

» Next!
Read Codeception Guides to learn how to use it.
 Codeception_

