WordPress has dozens of plugins. And probably you have developed your own. How would you know your plugin works for everyone? Does it conflicts with others? Does it work after your last change?
Oh yes, releasing the plugin means to make it reliable. This why we highly recommend to use automated testing in your development. Its not that really hard as you expect. Quite the contrary: automated testing saves your time for clicking and filling forms on a page.
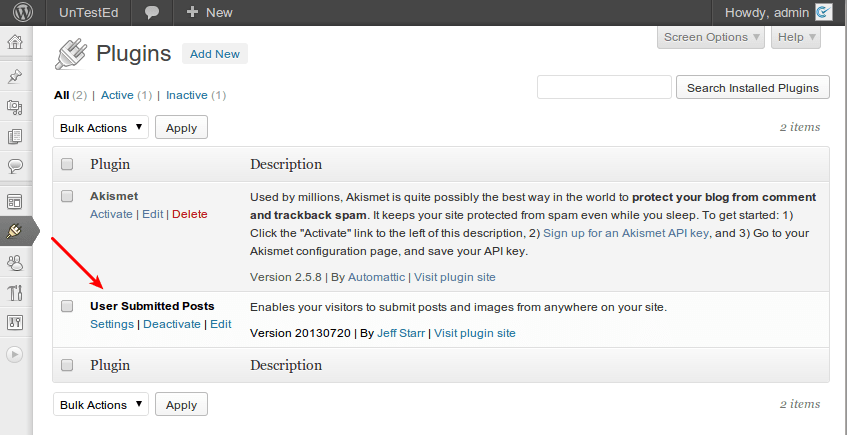
In this post we will examine how can you test a sample WordPress plugin with Codeception framework. Our patient is User Submitted Posts plugin by Jeffrey Starr.
This plugin allows regular users to submit a posts to your WordPress blog.
We assume a plugin is already installed and activated.
And we created “Submit a Post” page with a plugin snippet [user-submitted-posts] included. Through this page we expect user stories to be submitted.
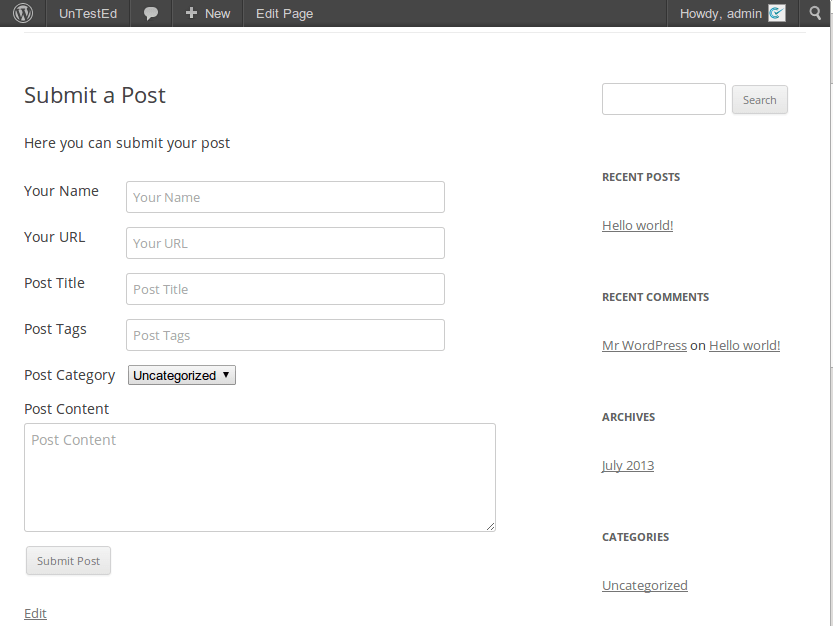
This plugin has lots of settings that include post fields, available categories, security issues, etc. What we want to do is try to switch different options and try to submit a post. Depending on option switched we will see some changes in the form, moderation or publishing process.
WordPress Setup
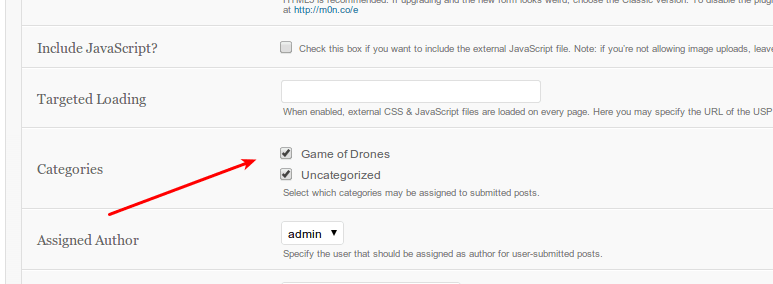
To begin write a test we will need to do some preperations. Our test won’t pass, if the page contains captcha: dummy web crawler has no idea how to solve it. Thus, we will disable captcha field in Submit Post form by editing plugin’s options.
We will use category Game of Drones in our tests. Our goal is to verify that user is can to submit a post to into it. Lets enable it in plugin options:
If you are lazy to do all the setup by hands, you can execute this setup script on a freshly installed WordPress.
Automation of testing allows us to write a script one time and replay it whenever a change is introduced. Will the plugin work when WordPress hits new release? Will the plugin work when we introduce a new option? Without automated testing we would spend hours to check the same stuff over and over. Lets spend a few hours writing a proper tests, and save days on manual testing.
Install Codeception
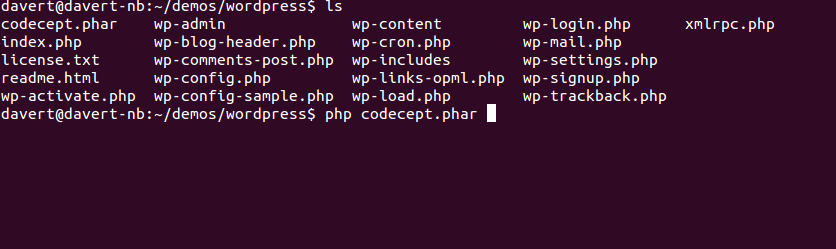
Codeception can be easily installed. It requires PHP 5.3 and higher. You can download it here or grab from site with wget:
wget https://codeception.com/codecept.pharDownloaded codecept.phar file should be placed into your WordPress directory.
This file should be executed with PHP from console
To install it run the bootstrap command:
php codecept.phar bootstrapThis creates a new directory tests with different folders in it.
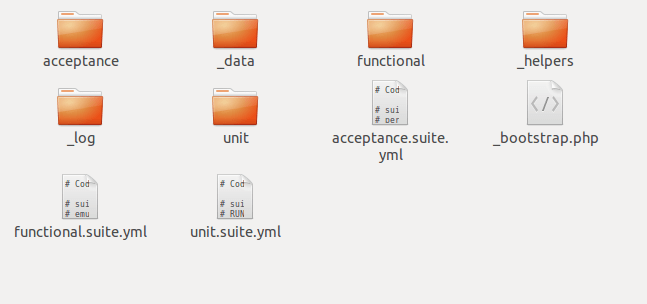
There are 3 different folders (called suites) to store tests: acceptance, functional, and unit. For our purposes we will need only the acceptance suite. Acceptance tests will replay our actions in browser.
To speed up the tests we are not using real browser here, but we use its emulator, a so-called PHPBrowser, based on curl calls.
First Test
Let’s create a test named “SubmitPost”. We will need generate:cept command for that.
php codecept.phar generate:cept acceptance SubmitPostA newly generated test will look like this:
<?php
$I = new WebGuy($scenario);
$I->wantTo('perform actions and see result');

?>
This PHP code is written in the way you would describe your actions while you are testing a plugin. What we will actually try to check? Let’s define a scenario:
- enter a site
- go to “submit posts” page
- fill all fields
- submit a post
- check a message for valid submission is shown
- admin should see the post
- and publish it
- post should be seen on site
Lets write the first step into a test.
<?php
$I = new WebGuy($scenario);
$I->wantTo('submitted a post by user and publish it as admin');
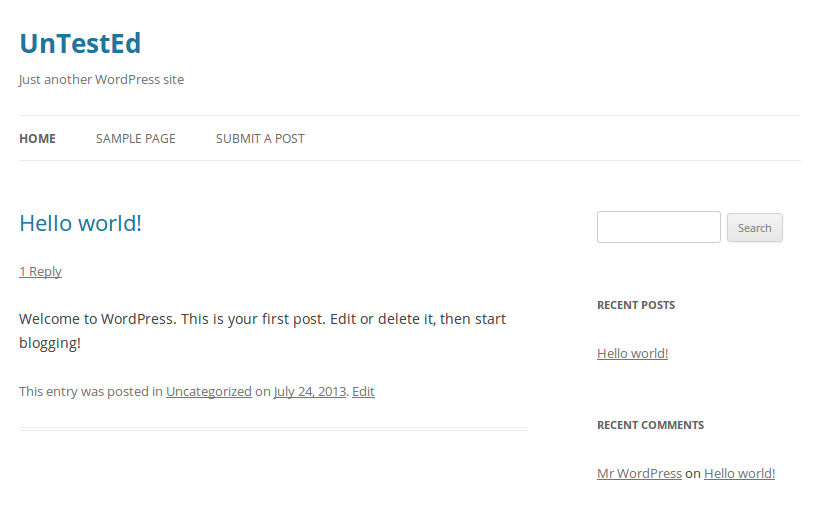
$I->amOnPage('/');
?>We moved to the front page of a site:
To move to the “submit posts” page (our step #2) we will need to click on “Submit a Post” menu item:
<?php
$I = new WebGuy($scenario);
$I->wantTo('submitted a post by user and publish it as admin');
$I->amOnPage('/');
$I->click('Submit a Post');

?>
That’s right, everything is as simple as you would tell it to a mate. As we are on page submission page we got a form and a few fields to fill in.
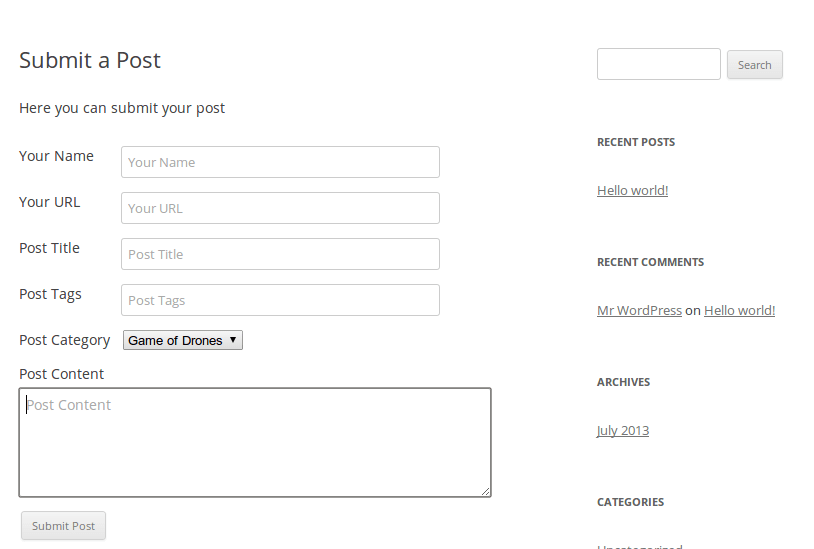
We are going to publish the review for the “Game of Drones” book into related category. Follow the code:
<?php
$I = new WebGuy($scenario);
$I->wantTo('submitted a post by user and publish it as admin');
$I->amOnPage('/');
$I->click('Submit a Post');
$I->fillField('Your Name', 'Michael');
$I->fillField('Your URL','https://drone-rules.com');
$I->fillField('Post Title', 'Game of Drones Review');
$I->fillField('Post Tags', 'review book rob-starkraft');
$I->selectOption('Post Category', 'Game of Drones');
$I->fillField('Post Content', 'This story is epic and characters are amazing.');
$I->click('Submit Post');
?>
After a post is submitted a message Success! Thank you for your submission. is shown.
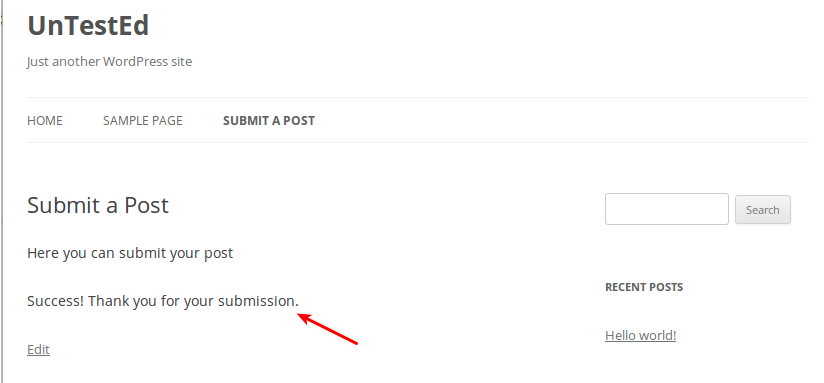
Our test wouldn’t be a real test without at least one verification. The result of our current actions is this “Success” message. If we don’t see it on a screen, we assume that test failed.
<?php
$I = new WebGuy($scenario);
$I->wantTo('submitted a post by user and publish it as admin');
$I->amOnPage('/');
$I->click('Submit a Post');
$I->fillField('Your Name', 'Michael');
$I->fillField('Your URL','https://drone-rules.com');
$I->fillField('Post Title', 'Game of Drones Review');
$I->fillField('Post Tags', 'review book rob-starkraft');
$I->selectOption('Post Category', 'Game of Drones');
$I->fillField('Post Content', 'This story is epic and characters are amazing.');
$I->click('Submit Post');
$I->see('Success! Thank you for your submission.');
?>
Execute Test
As we have one assertion with the see command in the end, it’s a good idea to try this test in action.
As it was said, we will execute this test with the PHPBrowser, i.e. browser emulator.
We should point it to the right URL to access our site. For such parameters a config file acceptance.suite.yml exists.
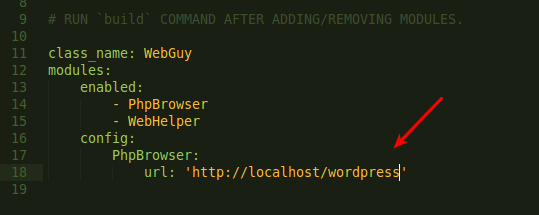
We need to start a web server and specify proper local url of wordpress site with a plugin we are testing.
We are ready to execute this test with run command.
php codecept.phar runAnd ups…
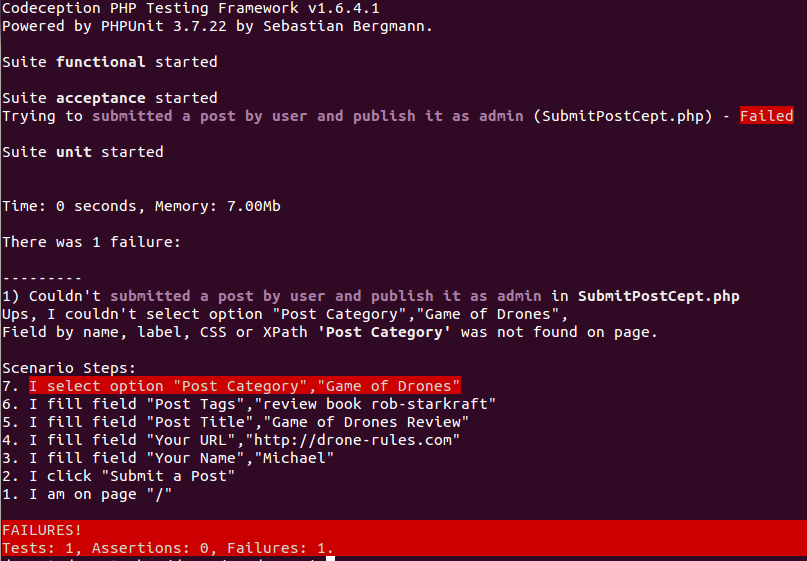
Looks like everything were ok, before we tried to select option Post Category. We saw in previous screen, there was such field in a list, but why WebGuy couldn’t find it on a page? It was there.
Well, here is the answer. WebGuy tries to fetch a form element by its label, whenever a label tag has attribute for that points to the id of a field , we can select this field by label.
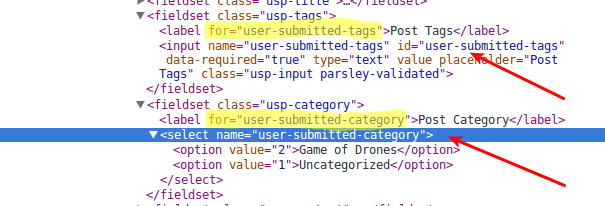
But as you see, unlike the previous Post Tags field, the Post Category select tag doesn’t have an id. Thus, the label do not point to it, as we would expect.
How do we resolve this situation? If we can’t match the field by its label, we can probably match it by CSS, pretty similar to how we would do that in jQuery:
<?php
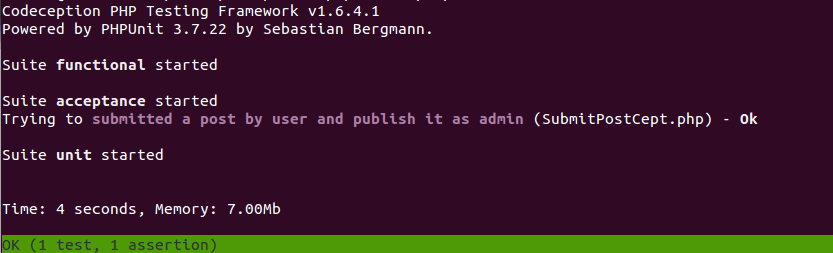
$I->selectOption('select[name=user-submitted-category]', 'Game of Drones');
?>Let’s execute the test once again… And we see it has passed.
Great, still we only verified the “Success” message was shown. We didn’t check that admin can actually see the user submitted post. This is where we start the next part of this tutorial.
The final test code we got today is:
<?php
$I = new WebGuy($scenario);
$I->wantTo('submitted a post by user and publish it as admin');
$I->amOnPage('/');
$I->click('Submit a Post');
$I->fillField('Your Name', 'Michael');
$I->fillField('Your URL','https://drone-rules.com');
$I->fillField('Post Title', 'Game of Drones Review');
$I->fillField('Post Tags', 'review book rob-starkraft');
$I->selectOption('select[name=user-submitted-category]', 'Game of Drones');
$I->fillField('Post Content', 'This story is epic and characters are amazing.');
$I->click('Submit Post');
$I->see('Success! Thank you for your submission.');
?>
As you see it is pretty straight forward. And there is nothing hard in writing such tests. But execution of this test took much less then we would reproduce this steps manually, in a browser. Also we can replay this test in any time. Isn’t that a good reason to start testing today?
In Next Series:
- We will finish the test to verify that admin can publish user submitted post.
- We will rework the test make it even more compact and readable.
- We will learn how to deal with data in Codeception.
Before we proceed, try to reproduce the following steps locally and prepare the testing environment. You can download this demo project or clone it from GitHub. And try to write and run some tests on your own.